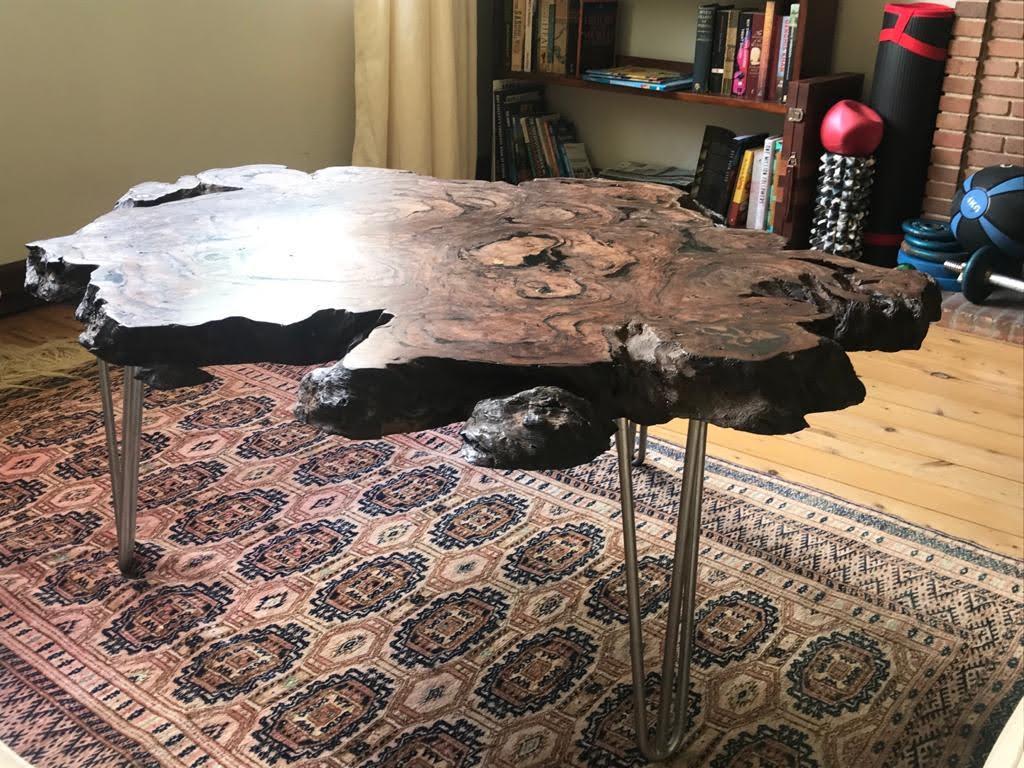
Making a new desk (part 3): Gap filling with epoxy and sanding
In part 2 of this series I wrote about how I came into possession of a cut and dressed timber slab. With the slab in my possession, the first task was to turn it into an appropriate shape to be a desk. This included filling in various gaps, sanding surfaces, and rounding corners.
My brother Bruno had previously built a coffee table out of a burl (a burl is to a tree what a tumour is to an animal). Bruno gave me a hand with my project – apart from lots of advice and lending me a lot of tools, he helped me with the mould and epoxy pouring, which sounds like it was the hardest part of his coffee table.
Cleaning and preparing
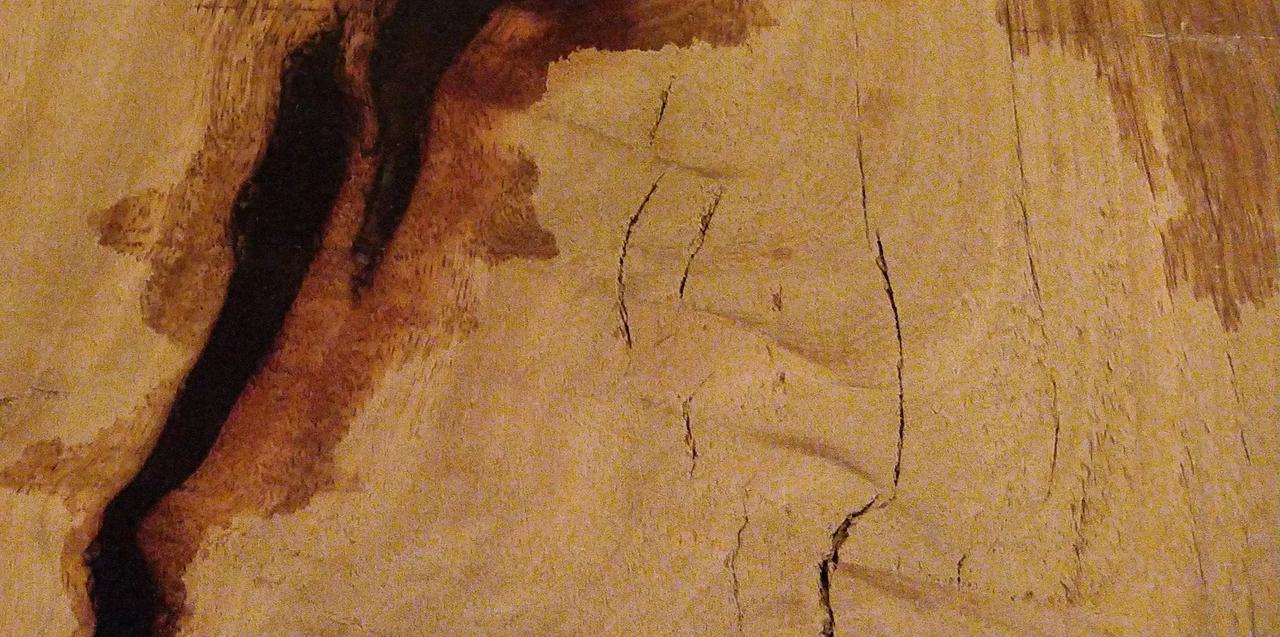
The first step is to remove all the loose bark, dried sap, dead animals, etc. There were quite a few holes in the slab from boring insect larvae, and some of them still contained larvae. One of them became visible when the slab was cut, which made me slightly nervous. I didn’t see it actively move, so I guess it was dead. Either way, I took care to dig out each of the holes carefully including any larvae. One important lesson was to wear safety goggles when digging stuff out of wood. At one point some fragments of dry sap flew into my eye and caused me significant pain over many hours. Another is to take the time to find the most appropriate tool to dig/scratch/hook loose things. It takes a surprisingly long time to find all the cracks.
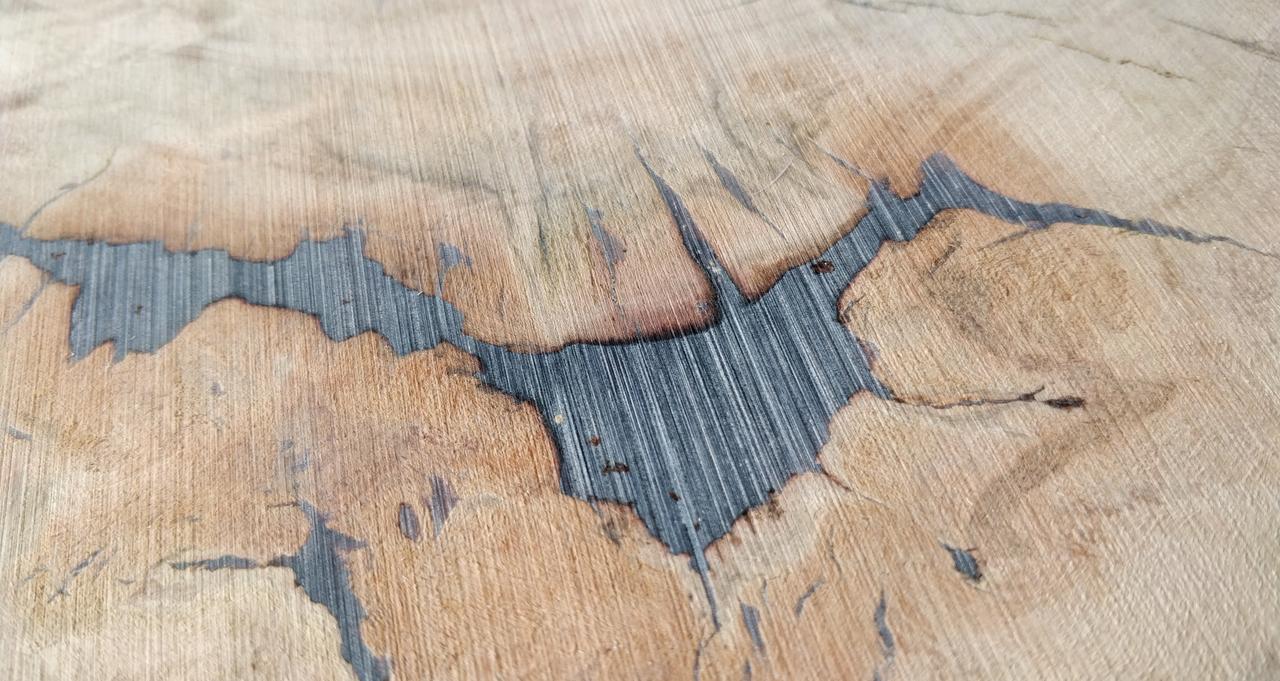
We decorated the cracks by charring the inside edges with a blowtorch. This creates an interesting effect, but a disadvantage is that the charred wood tends to release bubbles into the epoxy during the gap filling. Potentially this could have been avoided with more limited burning or with slower curing epoxy.
Building a mould
The mould prevents the epoxy from escaping while it sets in the slab. To build the mould we used a single piece of melamine which we bought from Bunnings. Bunnings provides a free cutting service, so it was cut mostly to shape at the store, which meant that it fit in my car and we had less cutting to do.
Building the mould was quite simple – just some use of a circular saw and inserting lots of screws. I tried to preserve the straight cut edges from Bunnings as much as possible rather than attempt to cut long straight edges myself.
Many tutorials mention products called “mould release” – a substance which is applied to the inside surface of the mould to prevent any epoxy from sticking to it. We used some cooking oil which we applied with a paper towel. This worked well enough.
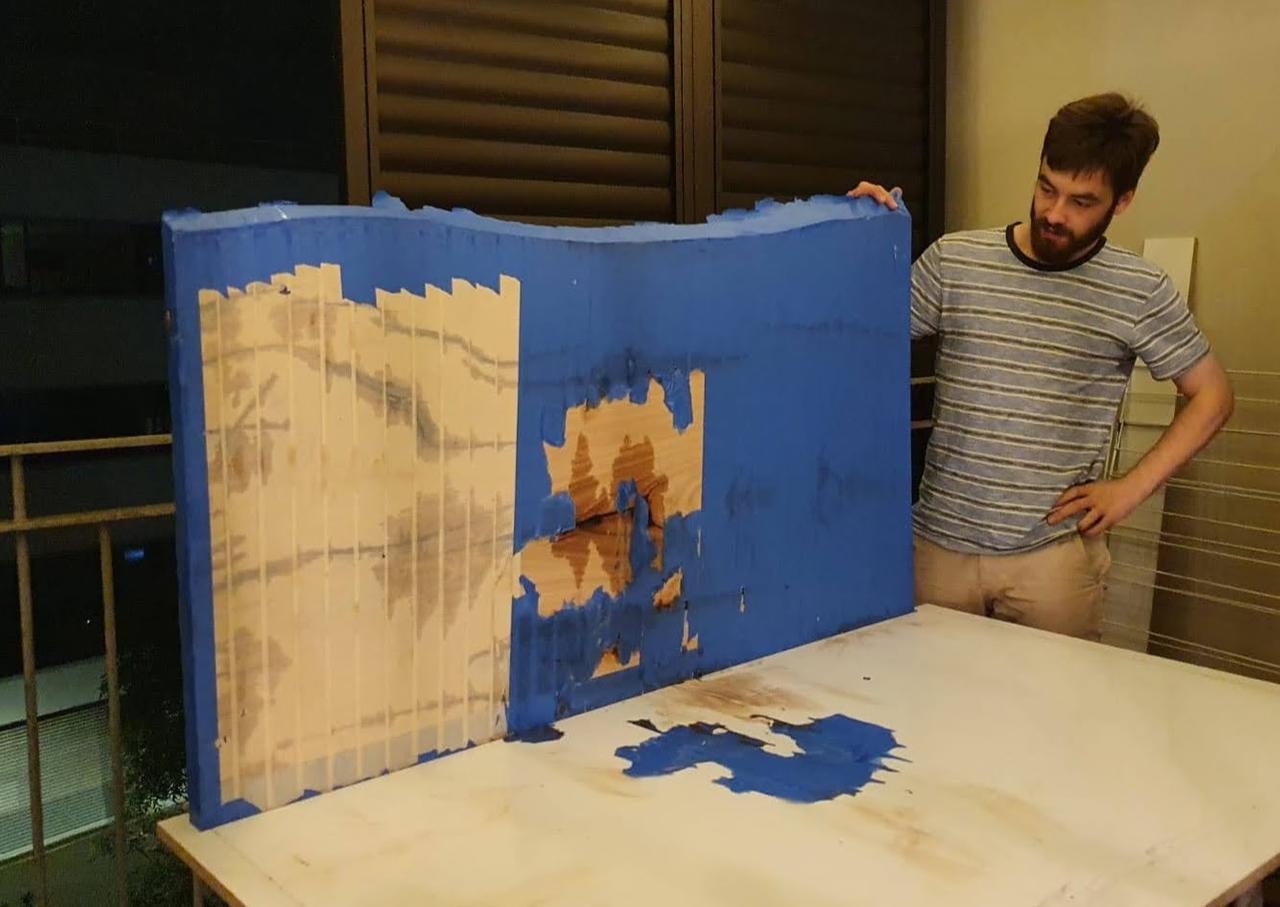
There are lots of opinions about what kind of adhesive tape should be used to seal the piece when the epoxy is poured. We used painters tape (which looks like waxy paper). It’s cheap, easy to find, easy to apply, and perfectly capable of holding the epoxy in if applied neatly.
One issue I faced later is that the epoxy is able to spread down the grooves in between strips of tape. For this reason, I think it would have worked better to apply the tape in the direction of the grain. This would mean that any epoxy which travels down the grooves is unlikely to spread far from the crack it leaked out from.
Another problem is keeping the piece firmly against the mould. We simply rested the mould on an outdoor table, but that IKEA table was not particularly rigid in the central area. Also by this time (i.e. after a month of researching how to get this far) the slab had developed a slight warp which caused the central area to lift slightly from the mould. This probably contributed to a small leakage of epoxy in the central area, which made it more difficult to remove the mould. It didn’t stick strongly (thanks to the tape, oil, and melamine coating), but because the stuck area was in the middle it required some effort with a machete to remove.
In hindsight, it would have been worthwhile to set up some vices to hold the slab firmly on the bottom of the mould. As well as preventing the epoxy leaking issue, this would have prevented the epoxy from baking in the warp, and instead caused it to hold the surrounding timber in a flat shape.
Pouring epoxy
I used two different epoxies – one which was left over from Bruno’s coffee table (Fibreglass Sales Epoxy 2020) and another which I bought for this project (Barnes Megapour). I discovered later that using two epoxies was a risk, because there are many different types with different compositions, and not all of them can form a chemical bond with each other. It was also a mistake to do the first pour before buying enough to finish the job. Each pour needs to be done before the previous pour has fully cured, because this allows a chemical bond to form between the layers. Like most glue, epoxy does not stick well to smooth surfaces, including unsanded epoxy!
There are many different kinds of epoxy. They vary in terms of their curing time, endotherm, viscosity, shrinkage during cure, clarity, UV yellowing resistance, and more. I chose to allow the fill to be transparent, and not to add any dye. This avoids the need to buy and mix in dye, but also makes bubbles and yellowing (including UV induced yellowing) is more visible. So it was useful to choose a UV resistant epoxy. Barnes Megapour is, but Fibreglass Sales Epoxy 2020 is not.
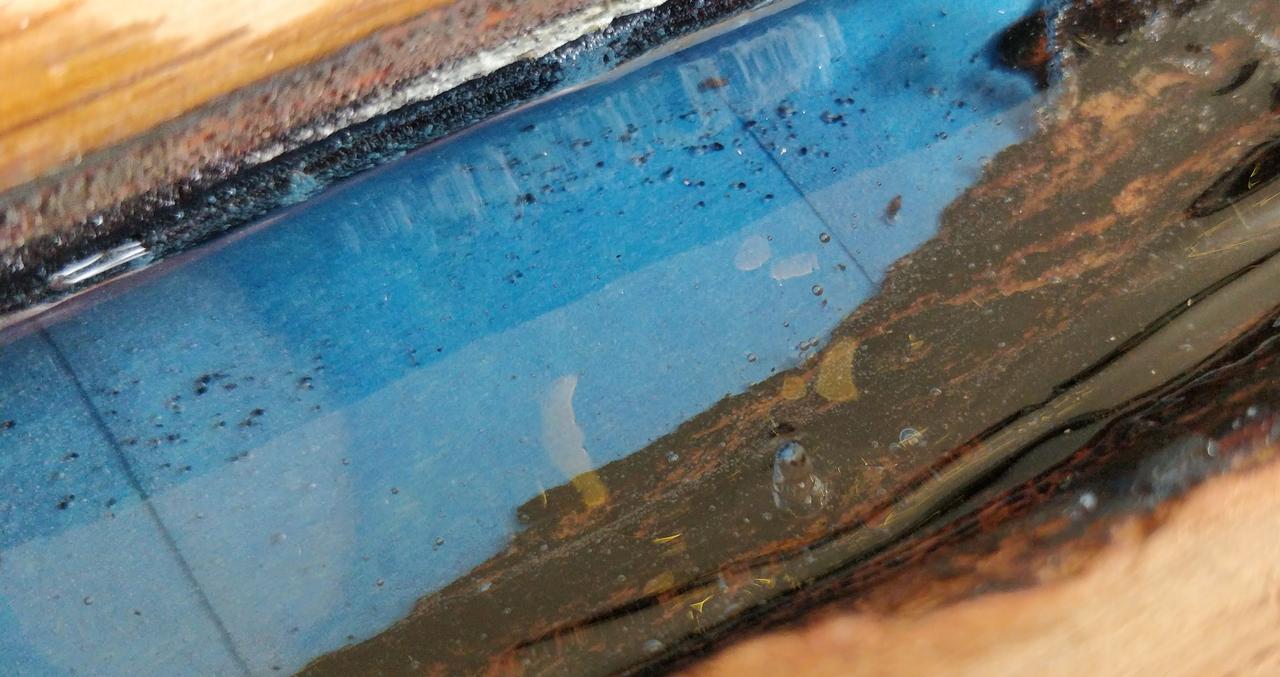
Another consideration is the curing speed, which is closely related to the endotherm and maximum pouring depth. I used one with a 2-3 hour cure time, and another with 24-48 hours. I much preferred the longer curing time. The working times respectively were about 45 minutes and 3 hours. 45 minutes is short enough to feel rushed when there are many cracks to find and there is a constant stream of bubbles to pop. A lower viscosity and longer cure time means it is easier for bubbles to rise to the surface and pop rather than being frozen in. The combination of all the narrow and irregularly shaped cracks in the timber and the charred edges meant that bubbles kept appearing for a long time, and the results were better with the slow curing epoxy.
It’s important not to pour too much depth at once, because the endothermic curing reaction can cause the epoxy to overheat and cure too fast. This results in the epoxy changing shape after it has hardened, which causes stress and uneven surfaces. The staff at the timber shop told me that in their pieces they typically pour 5 separate layers. My experience confirms that this is a good idea. With the 2020 epoxy, pouring too much at once (more than about 1-2cm) results in bubbles and shrinkage after cure. Barnes Megapour actually shrinks more (subjectively), but it does so before it hardens, so without any permanent impact. But the result of this is that no matter how carefully you fill in all the cracks the first time, the epoxy always sinks in further just before it hardens. So even with deep pouring epoxy, you need to do multiple pours. You may as well do them at a consistent depth and minimise bubbles.
Its a silly mistake but its worth saying: make sure you mix the epoxy correctly. Use scales, measuring cups, calculators – do what you have to do. If you don’t mix it properly it will never cure, and you won’t know it until the soft paste is in your piece. I made this mistake with one pour. Luckily I was only filling some smaller cracks, so the soft parts on the finished product are not obvious unless you know where they are.
We poured the epoxy with the desk upside down. I think the right way up would have worked better. A place where you can see bubbles from above is a place where bubbles have space to rise to the surface and pop. But as you can see there are places where bubbles are visible from underneath but cannot rise. Also, there is no chance that a fold in the tape will get stuck in the epoxy on the top side, because there is no tape on the top side.
In hindsight I can see why it is common to tint the epoxy (even with a dark brown colour which does not stand out). There are a lot of visual imperfections that can happen in epoxy pouring, and a tint hides most of them.
First coat of sanding
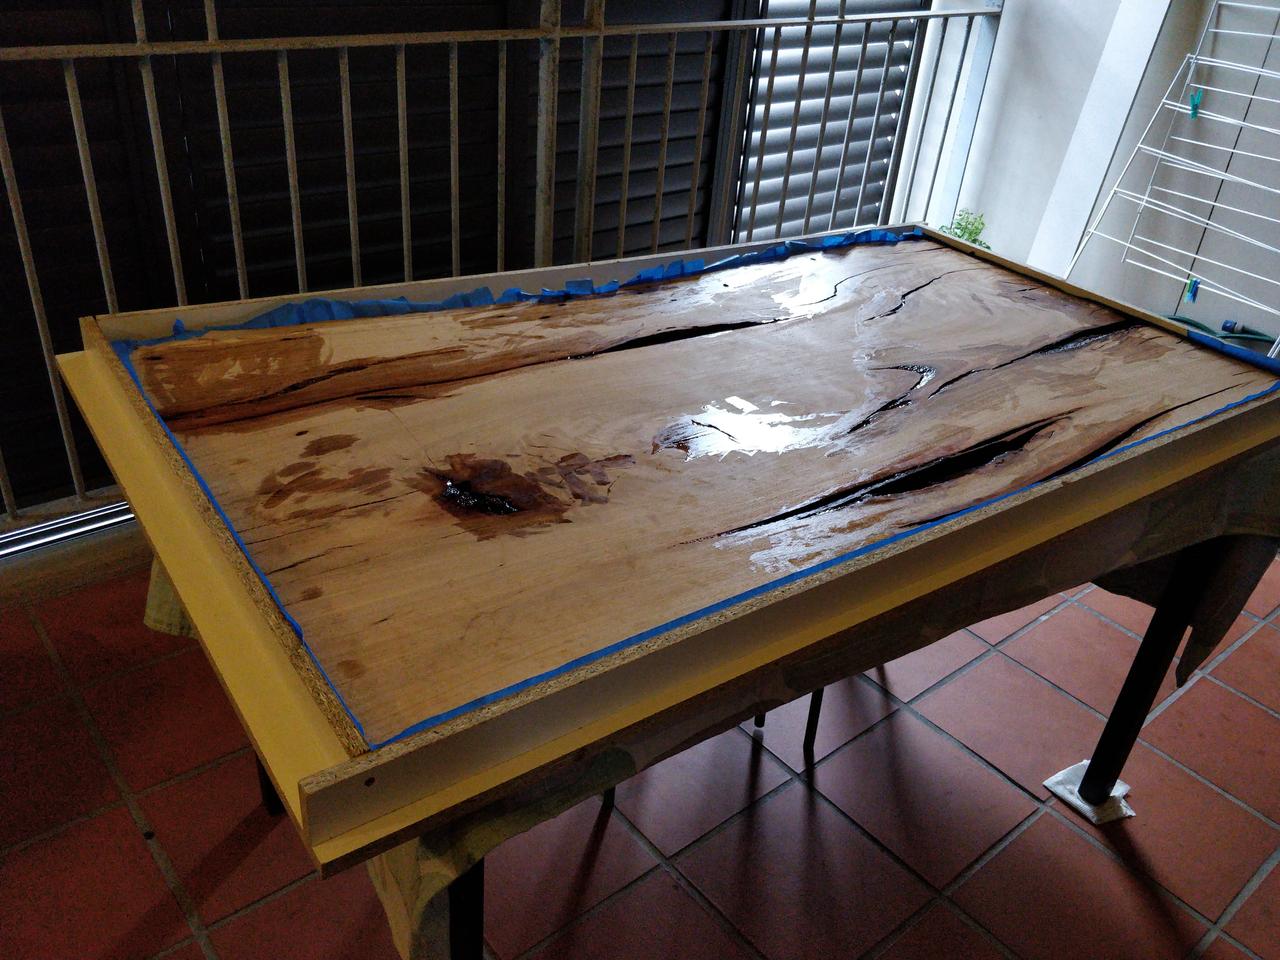
The first coat of sanding after filling in the larger cracks is the only time its necessary to remove a lot of material. Inevitably there will be large areas where the epoxy is above the original surface of the wood, and these puddles need to be sanded away to get back to the wood.
We used a belt sander with 40 grit sanding belts for this purpose. This was very fast, but I can confirm that belt sanders can also cause a lot of damage very fast, so its important to maintain even pressure, use an appropriate pattern of movement, and avoid mistakes like rolling it over the edges or leaving it running in one position. It’s also important to adjust the rollers frequently, otherwise the machine will happily sand itself and self destruct.
I found that sanding can expose more gaps in the wood, and it pays to touch these up with epoxy later. This should be done as late as possible in the sanding process, but not so late that you need to repeat a coat of sanding. I’m not sure when that would be. I continued to use a 40 grit sanding belt after my final epoxy touch ups, but I suspect that doing it after one of the early coats with the random orbital sander would have left less unfilled cracks.
Filling other faces
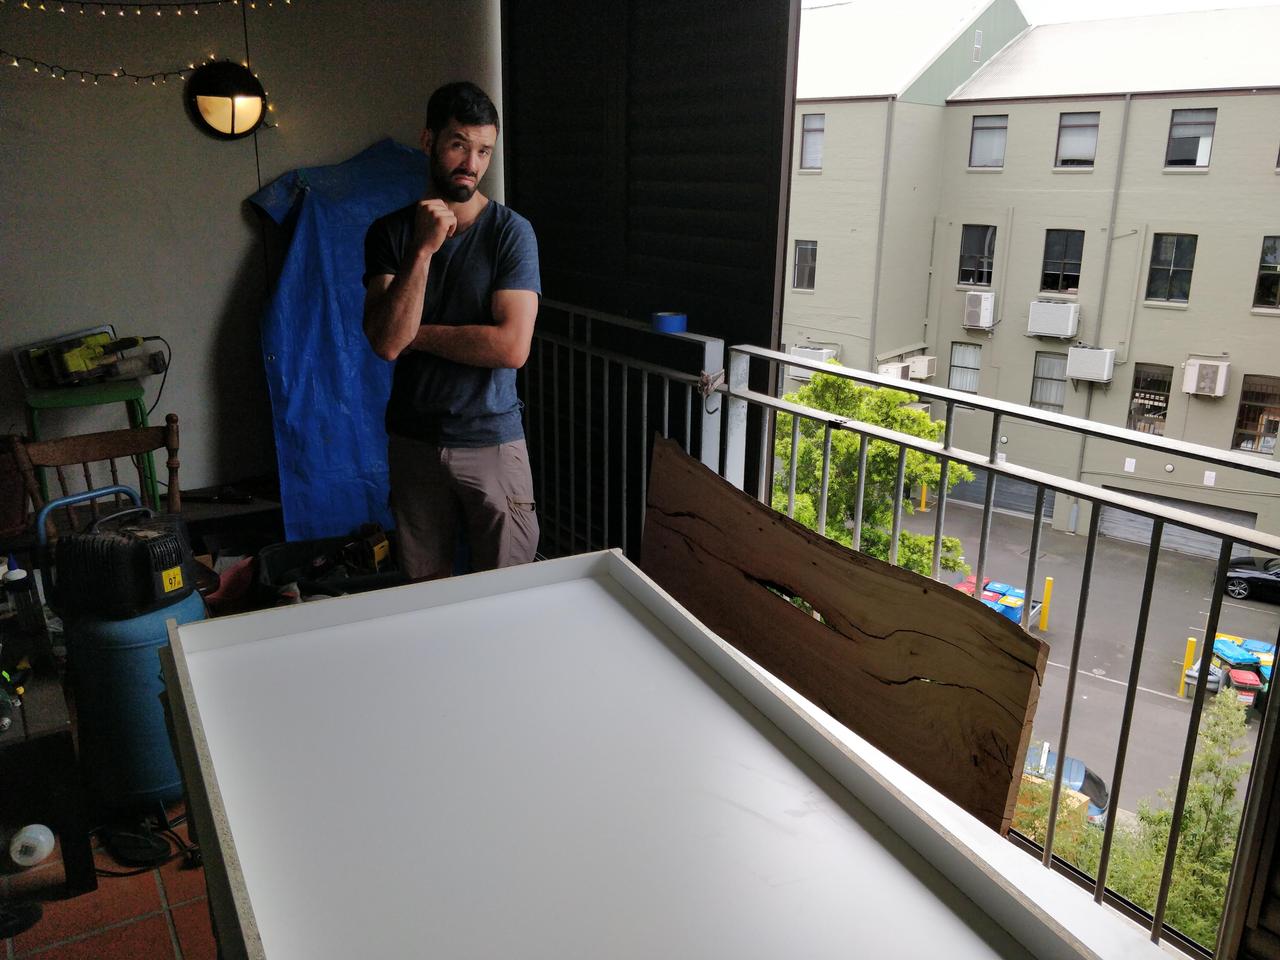
In my slab, the epoxy poured from the bottom face was able to reach most of the gaps in slab, but there were still some smaller gaps visible from other faces which were not filled in this stage. To fill these I did some additional pours at different angles.
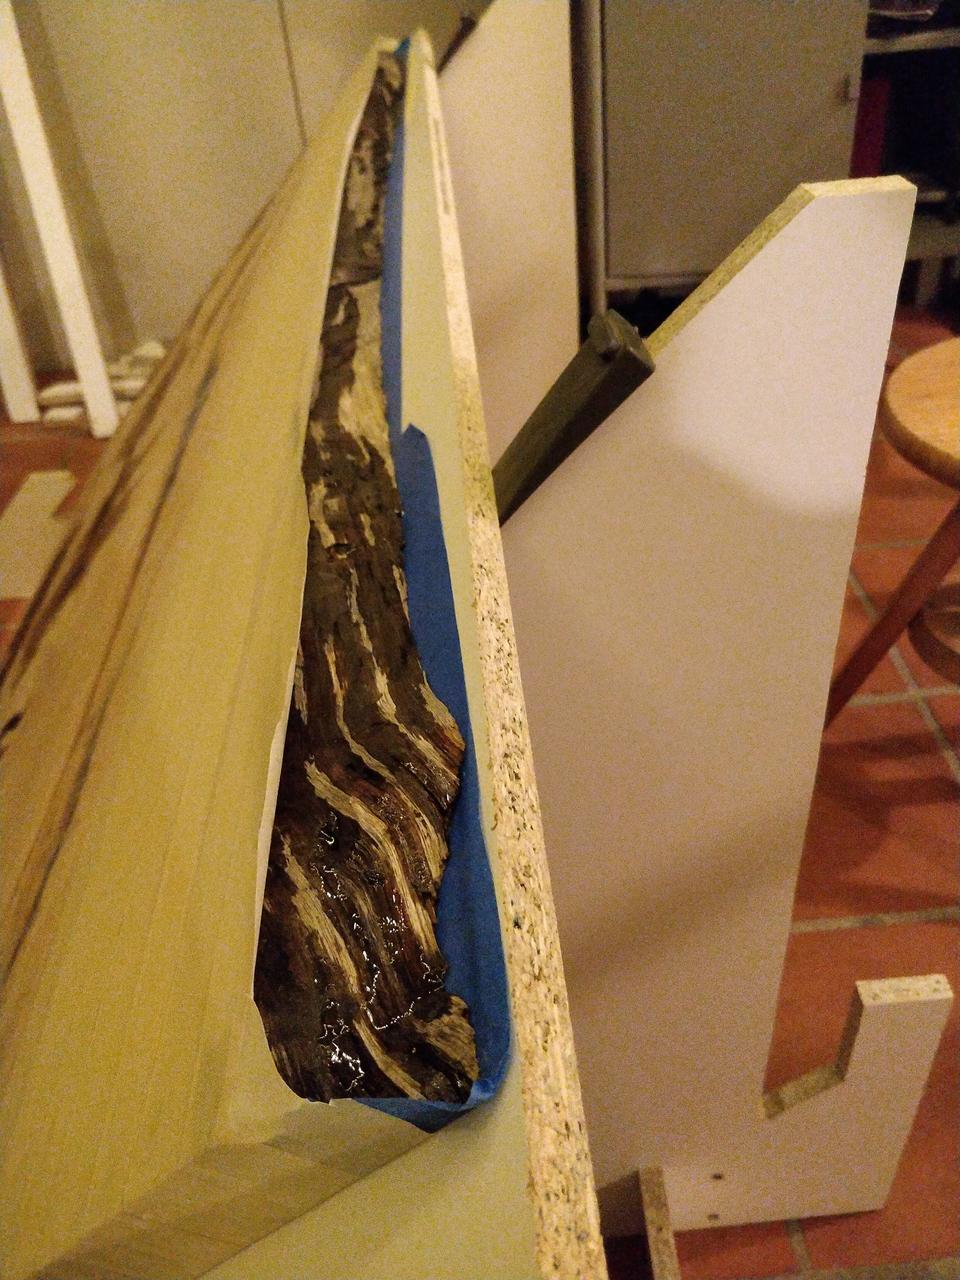
I reused the mould mostly as it was to pour from the top face. Things got a little bit more difficult for the edges though. I decided to reuse the melamine from the mould to build a pair of stands to hold the slab at the appropriate angles while I poured into the edges.
For these pours, there was no need for a complete mould. Although were some gaps that weren’t sealed around each edge, it was good enough to cover any potential leakage points with painters tape.
Shaping the edges
For the cut edges, I took up an offer from Go Natural Timbers to use a router to round the corners. They also showed me how to roll a random orbital sander over corners to round them, which is what I did to round the corners of the natural edge. They seemed not to be too shocked by the work so far, which was reassuring. In fact they said: “nothing there that can’t be fixed”.
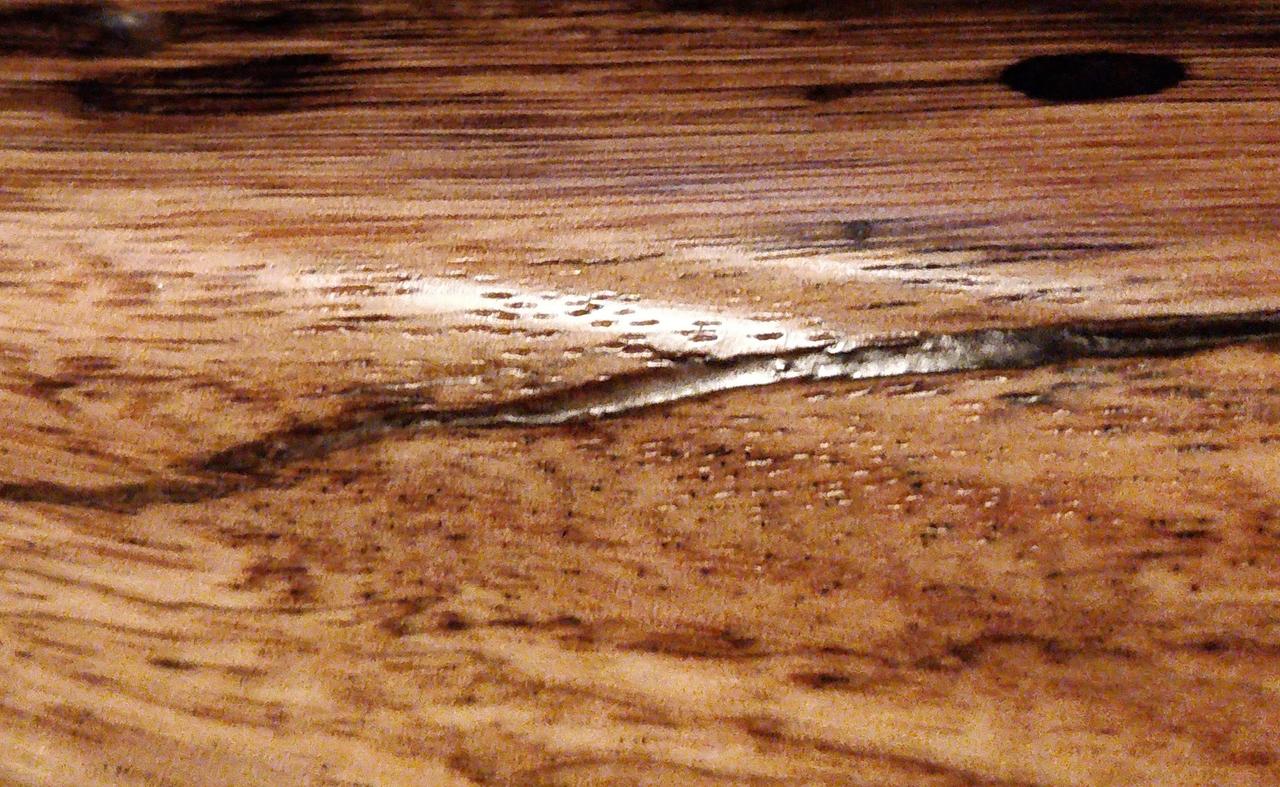
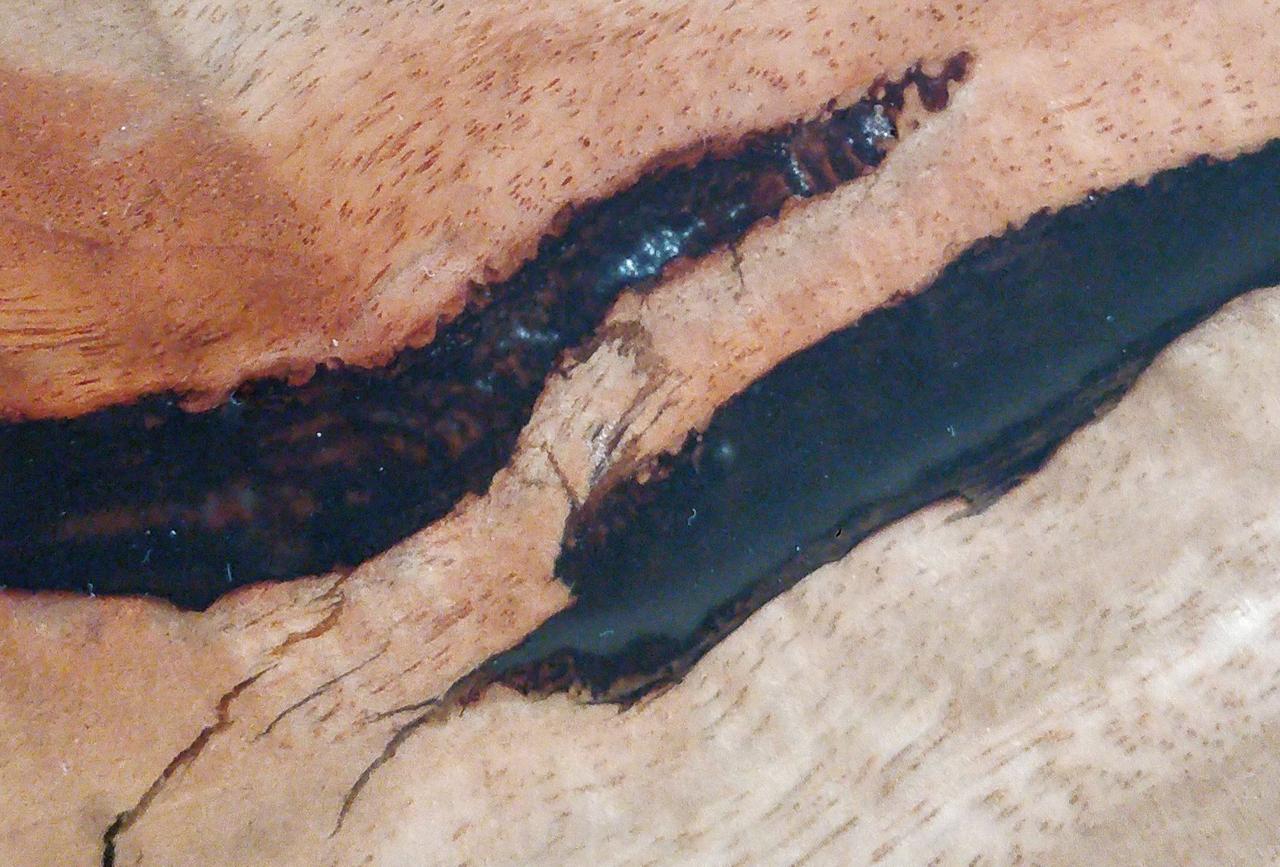
The natural edge was one of the harder parts of the project, and is probably the area with the largest issues in the finished product. The incorrectly mixed epoxy ended up in the natural edge, and there are also some cracks where subsequent layers of epoxy didn’t bond and have since separated. The varying angle of the natural edge made it more difficult to pour very much epoxy at once, and increased the risk of these mistakes.
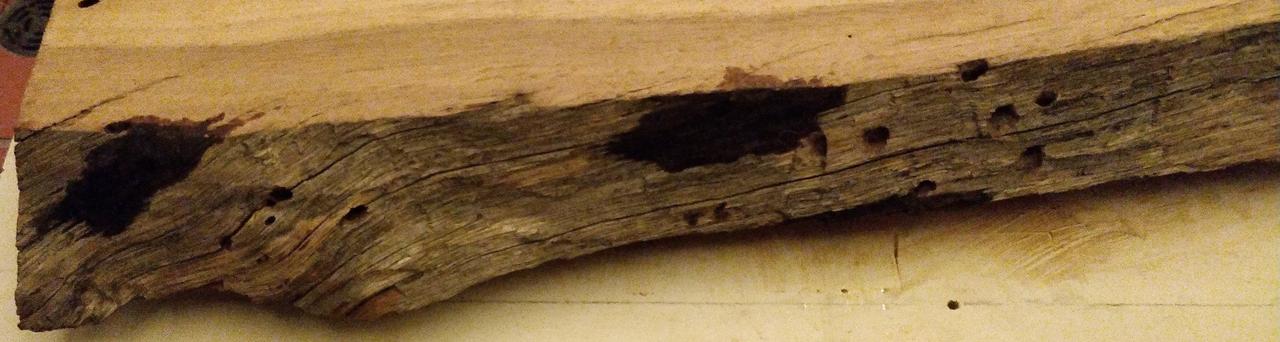
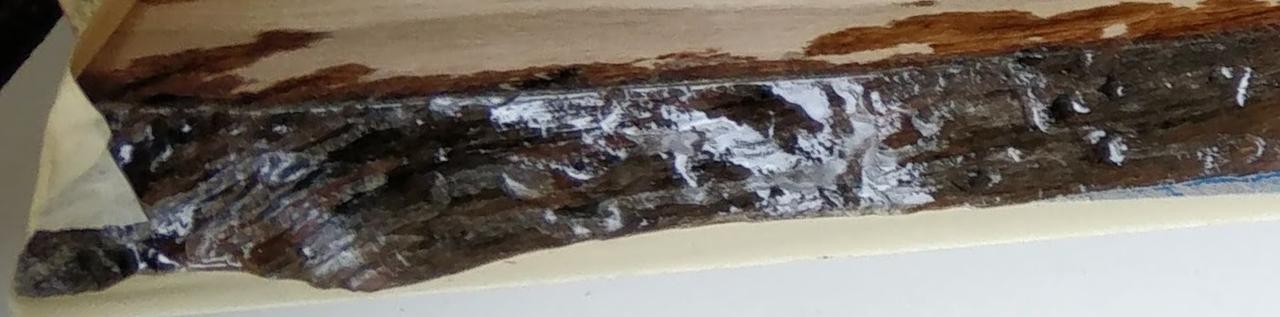
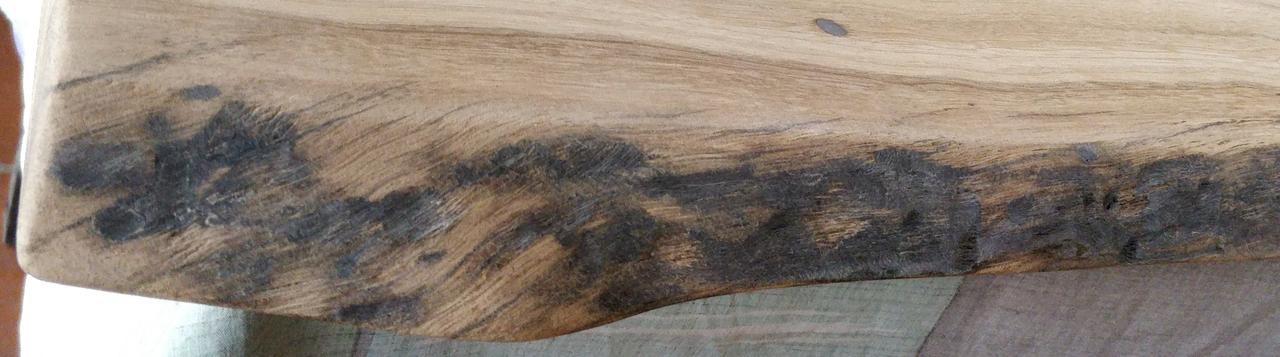
I tried to fill in every last crack in the natural edge, and in doing so covered the entire surface in epoxy. I then had to remove this epoxy using wire brush drill attachments and a random orbital sander, which resulted in more of the wood being removed than I would have liked. I think a lighter touch with the epoxy (even at the expense of leaving some small cracks unfilled) would have removed the need for such aggressive use of the wire brush attachment and sanding, and preserved the natural appearance better. Perhaps also a finer/softer wire brush could have removed some discoloured wood from the surface without creating such deep scratches.
Final sanding
For the later coats of sand, I used a random orbital sander. This machine is much slower than the belt sander, but also much easier to use, and produces much better results with minimal visible scratches. I found that it was worth repeating the same grit that was done with the belt sander. In my case it took a long time with the random orbital sander at 40 grit to remove the scratches made by the belt sander at 40 grit, and the result was much smoother. I think it might even be worth going down a step or two, for example using 60-80 grit with the belt sander and then switching to the random orbital sander at 40 grit.
I found that using a foam backing pad reduced noise and vibration and produced less visible scratches. It was also useful to allow the sanding disc to wrap around the corners and over the natural edge. Take care to get a backing pad and sanding discs with size and hole positions matching the sander – otherwise things will get very dusty. Finer sanding grits produce much less sawdust, but it is finer and more irritating.
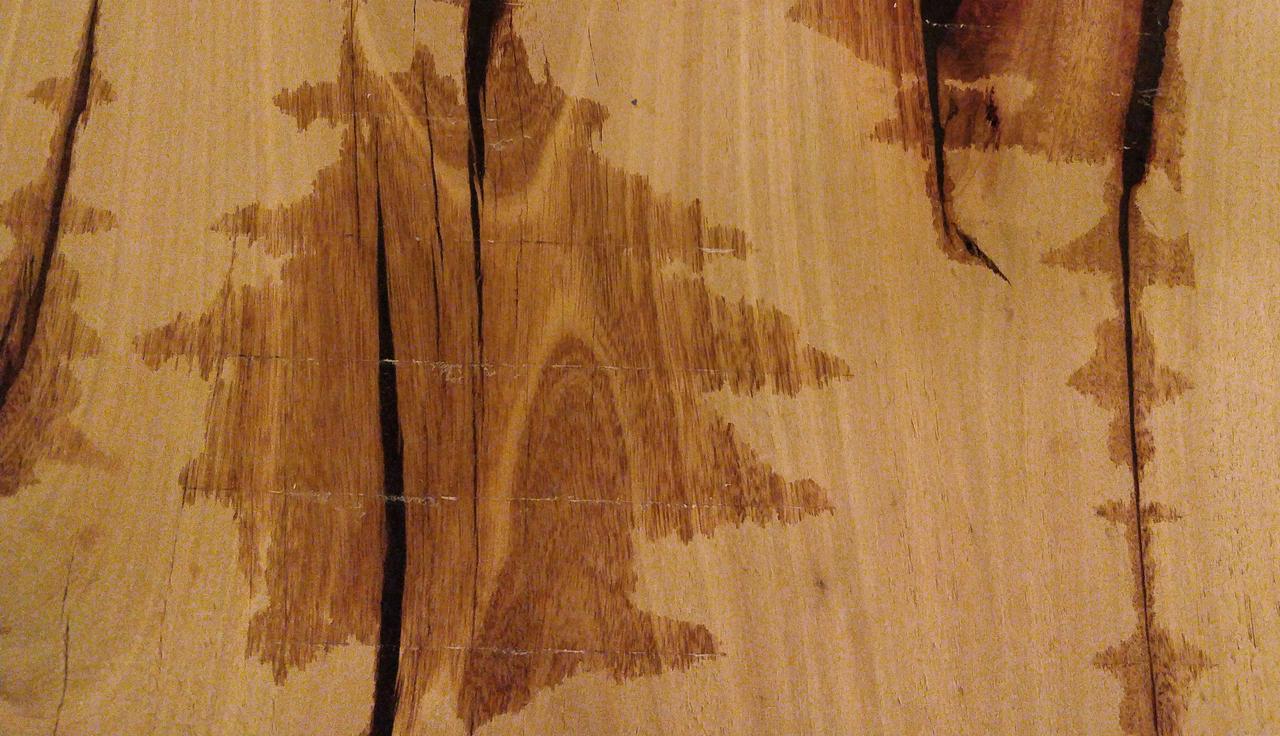
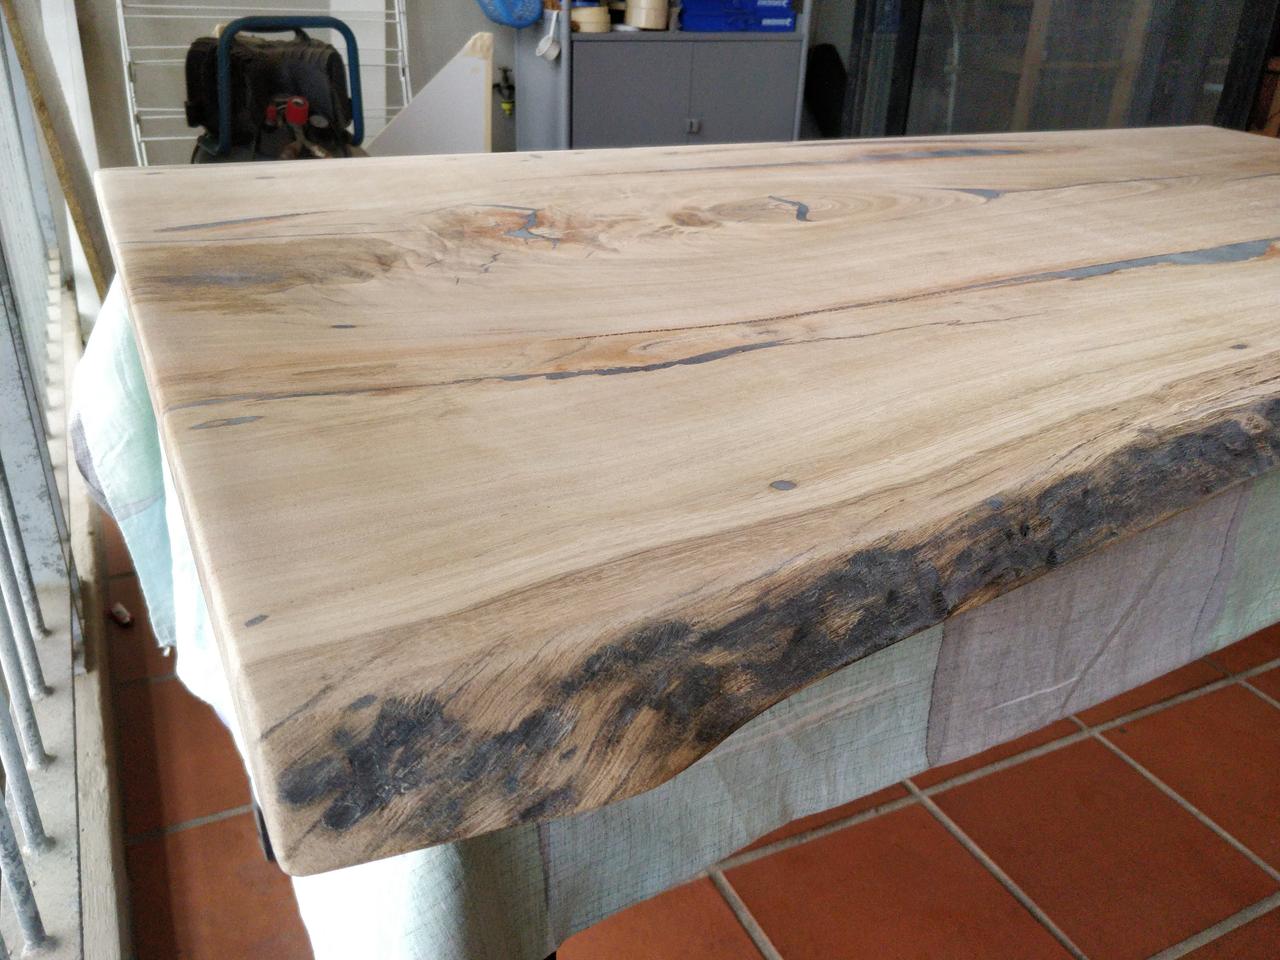
I did the following progression of grits: 40, 60, 80, 120, 180, 240, 320. One of the carpenters at Go Natural Timbers told me that it was necessary to go up to 180 for an epoxy finish (which is a deep coating), and 240 for a lacquer finish (typically a very shallow coating). The finer grits don’t take as long though, so it made sense to go slightly further. It’s hard to capture in photos, but in real life the sanding makes the wood look much better – all the small details in the grain become visible.
Onwards to finishing
The slab was now in its final shape, so this concludes part 3 of the series. In part 4, I’ll write about the process of choosing and applying a finish to protect the wood and enhance the aesthetics.